Writer/edit default
Editing the Default
Now, let 's jump down to our Default section, where the actual text will be located...
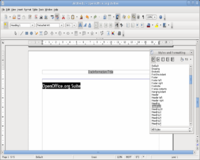
- type your first heading,
- then select it,
- search for Heading 1 in the Paragraph Styles, and double-click it.
You may adjust the heading by modifying Heading 1 from the stylist, and not by changing it directly, because you want all the Heading 1 class headings of your document appear in the same way.
- Hit Enter,
- double-click Heading 2 and type your first subheading (or type it first, select it and assign Heading 2, as you did before).
Do not add any outline numbers, OpenOffice.org will do that for us later.
- Hit Enter again and type some text.
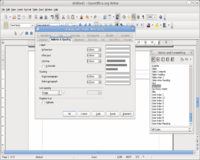
Watch out, the text should not be Default, but Text Body. Assign that if needed and modify as you wish. One nice example: we modify Text body -> Indents & Spacing -> First Line from 0,00 to 0,50. This gives all our paragraphs a nice indent.
Now add few more Headings (1 class), few subheadings (class 2 and 3) and some more text. Now you definitely need outline numbers for your headings. Easy enough...
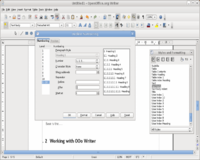
- from the Tools menu -> Outline Numbering
- select 1-10,
- Number = 1, 2, 3,... and
- if you like add a separator after the numbering (I used [ ] space in my screenshot).
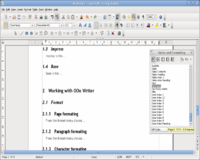
All your headings are numbered now, with the scheme
1. Heading Class 1
1.1. Heading Class 2 etc.
Of course, we can add headings later as we wish, as everything gets updated automatically.


